





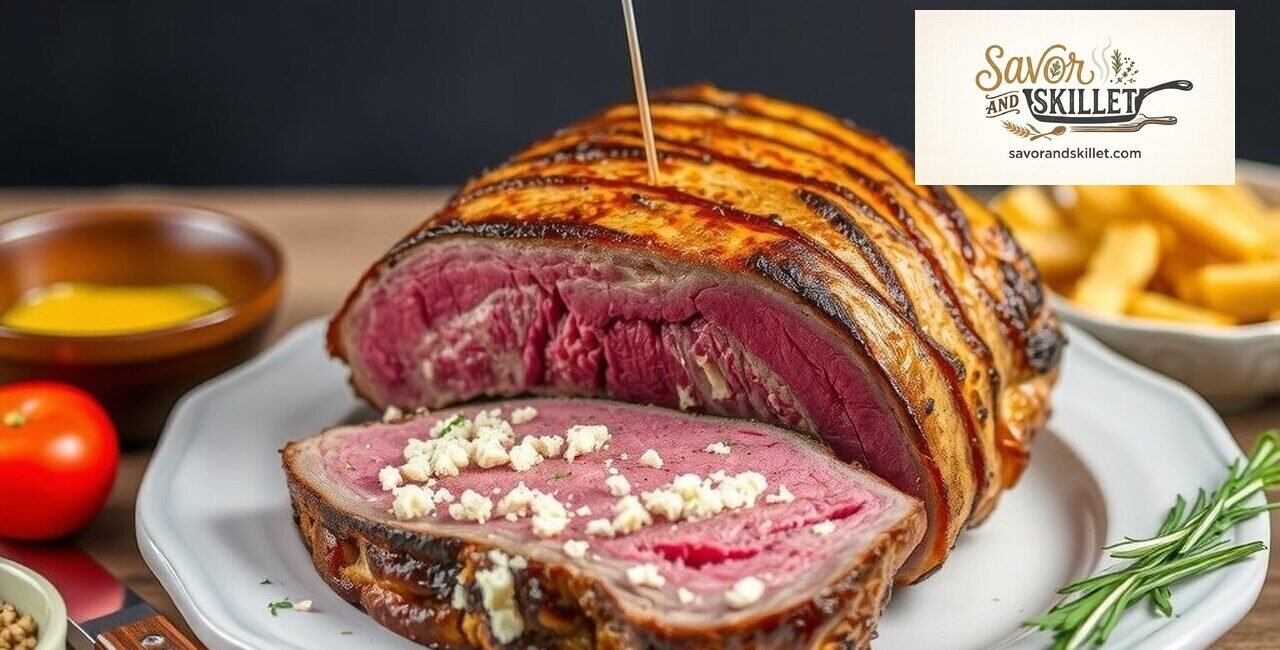
Have you ever pulled a roast out of the oven, sliced into it, and been greeted by an unappealing shade of pink where there should be a delicious sear? It is a common kitchen mishap, yet learning how to use a food thermometer correctly is the single most effective way to ensure consistent, safe, and flavorful results in 2026. Many home cooks rely on outdated methods like checking for clear juices or judging by color, but modern culinary standards emphasize precision. In my experience, once you make the switch to digital verification, you will wonder how you ever managed without it. Let’s break this down step by step so you can master your internal temperature monitoring.
Also Read: Overnight Oats: Basic Formula, Flavor Ideas, and Storage Tips
Understanding How to Use a Food Thermometer Correctly

A food thermometer correctly is the process of inserting a high-quality calibrated probe into the thickest, most thermal-dense part of a food item to accurately measure its internal temperature, ensuring it reaches the necessary heat to neutralize pathogens while maintaining optimal texture, moisture, and flavor profile for specific protein or dish types.
According to 2026 food safety guidelines from the USDA, using a thermometer is the only way to determine if food has reached a temperature high enough to destroy harmful bacteria like Salmonella and E. coli. While visual cues might suggest a dish is done, heat transfer is notoriously deceptive. A piece of meat might appear browned on the outside while remaining dangerously cool at its center, or conversely, be overcooked into a dry, flavorless state. When we discuss mastering this tool, we are talking about moving from guesswork to science-based cooking.
The Importance of Precision Cooking
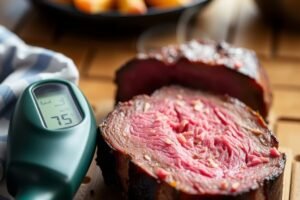
Cooking is essentially a series of chemical reactions, and heat is the catalyst. When you use a food thermometer correctly, you are controlling those reactions. Proteins like beef, poultry, and fish have very specific thermal thresholds where the muscle fibers contract and moisture begins to evaporate. By knowing exactly when to pull your food from the heat source, you prevent the common “carryover cooking” trap where food continues to rise in temperature after leaving the oven or grill.
Selecting Your Tool
Not all probes are created equal. Digital instant-read thermometers, such as those produced by brands like ThermoWorks or Lavatools, offer speed and precision that analog dial thermometers simply cannot match. If you are a beginner, look for a digital model with a thin needle tip this minimizes the damage to the meat, keeping juices trapped inside where they belong. At Savor and Skillet, we emphasize that the tool is only as good as the technique applied to it.
Probing for Accuracy: Placement Matters
Now that we have covered why precision is vital, let’s discuss the physical act of finding the sweet spot, which is the most critical part of learning how to use a food thermometer correctly. If your probe is in the wrong place, the reading is essentially useless.
Finding the Thickest Point
The goal is to reach the area that takes the longest to heat up—the thermal core. For a whole chicken, this is typically the thickest part of the thigh, making sure to avoid the bone. If you touch the bone, you will get a false high reading because bone conducts heat faster than muscle tissue. I’ve seen many home cooks accidentally pull a bird from the oven early because they were measuring the bone temperature instead of the surrounding meat.
The Depth Factor
Many modern thermometers have a dimple or a mark on the probe shaft indicating how far it needs to be inserted. For thin cuts like pork chops or fish fillets, you should insert the probe horizontally from the side. This allows the sensor to remain centered in the thinnest part of the meat, providing a much more accurate reading than trying to go in from the top.
Calibrating for Consistency
Since you now understand the mechanics of probe placement, we need to address the reliability of the device itself—this is where many people run into trouble. If you do not know how to use a food thermometer correctly in terms of maintenance, you might be trusting a tool that is off by ten or fifteen degrees.
The Ice Bath Test
Calibration is the process of checking your device against a known standard. The most reliable method is the ice bath test. Fill a glass with crushed ice and add enough water to fill the gaps, leaving the ice suspended. Insert your probe into the center of the mixture. It should read 32°F (0°C). If it doesn’t, your thermometer needs to be recalibrated or replaced. I recommend checking your thermometer once every few months, especially if it has been dropped or subjected to extreme temperature shifts.
Digital vs. Analog Maintenance
Digital devices are generally more robust, but they still require care. Avoid submerging the entire unit in water unless it is specifically rated as waterproof. Always clean the probe with a food-safe sanitizing wipe or hot, soapy water immediately after use to prevent cross-contamination. This simple habit is a hallmark of the professional kitchen techniques we promote at Savor and Skillet.
Interpreting Temperature Data
With your probe calibrated and your placement technique refined, it is time to look at the numbers and understand what they mean for your dinner. This is where you master the “how to use a food thermometer correctly” skill for the long haul.
The Carryover Effect
Most beginners ignore carryover cooking, which is a major error. When you remove a large cut of meat, like a beef tenderloin or a pork roast, from the heat, the residual thermal energy continues to move toward the center. This means the internal temperature will rise by 5°F to 10°F after it leaves the oven. If you aim for 145°F and pull it out exactly at 145°F, you will likely end up with meat that is overcooked by the time it reaches the table. Always pull your protein a few degrees early.
The Rest Period
Resting is non-negotiable. During the rest, the juices redistribute throughout the muscle fibers. If you slice into meat immediately, those juices spill out onto the cutting board instead of staying inside the meat. Using your thermometer to confirm that your meat has reached the safe target before you start the resting phase is the final step in the process. It is a small wait that yields a massive difference in quality.
It wouldn’t feel complete if the Savor and Skillet team didn’t provide a video tutorial, right? So, we’ve scoured the internet to find the absolute best tutorial for you to follow.
We finally came across a video titled “The Right Way to Use a Meat Thermometer” from J. Kenji López-Alt’s YouTube channel. It’s an excellent video—the explanation is incredibly clear and detailed. If you’d like to watch it, just hit play below!
Frequently Asked Questions About a Food Thermometer Correctly
Should I leave the thermometer in while the food is in the oven?
Generally, you should only leave the probe in if it is specifically designed as an “oven-safe” probe thermometer. Standard instant-read thermometers are not built to withstand long-term exposure to high oven heat and will likely be damaged if left inside.
Does it matter which part of the meat I test?
Yes, it is crucial to test the thickest part of the meat. Avoiding bones, gristle, and large pockets of fat is essential because these areas conduct heat at different rates than the muscle meat itself, which would result in an inaccurate reading.
How do I test thin cuts of meat like fish fillets?
For thin items, insert the probe into the side of the fillet so the tip reaches the center, rather than trying to go through the top. This ensures you are measuring the internal temperature rather than the heat of the cooking surface or the air.
Is there a difference in temperature for different types of meat?
Yes, different proteins have different safety and culinary standards. Poultry must reach 165°F for safety, while beef and pork can often be pulled at lower temperatures depending on your preferred level of doneness, provided you follow appropriate resting times.
What should I do if my thermometer gives a fluctuating reading?
A fluctuating reading often indicates that the battery is low or the sensor is damaged. Try changing the battery first; if the issue persists, the internal circuitry may be failing, and it is likely time to invest in a more reliable piece of equipment.
Conclusion: The Path to Culinary Confidence
Now that we have navigated the nuances of temperature control and calibration, you are well on your way to becoming a more precise cook. Mastering how to use a food thermometer correctly is a journey of refinement—it turns the chaotic environment of the kitchen into a space of predictability and success. Remember that this tool is not a crutch, but an extension of your sensory awareness.
By consistently measuring your proteins, you eliminate the anxiety of serving undercooked food and the disappointment of dried-out meals. I hope this guide from Savor and Skillet helps you approach your next kitchen project with confidence and clarity. If you found this information helpful, leave a comment below or share this guide with a friend who is still guessing their way through dinner. For more tips on kitchen equipment and safety, take a look at our other articles on essential cooking tools. See you in the next article! — Mirdania, Savor and Skillet

Other Articles

A Beginner’s Guide to Safe Canning and Food Preservation
How to Store and Reheat Leftovers Safely

No Comment! Be the first one.