



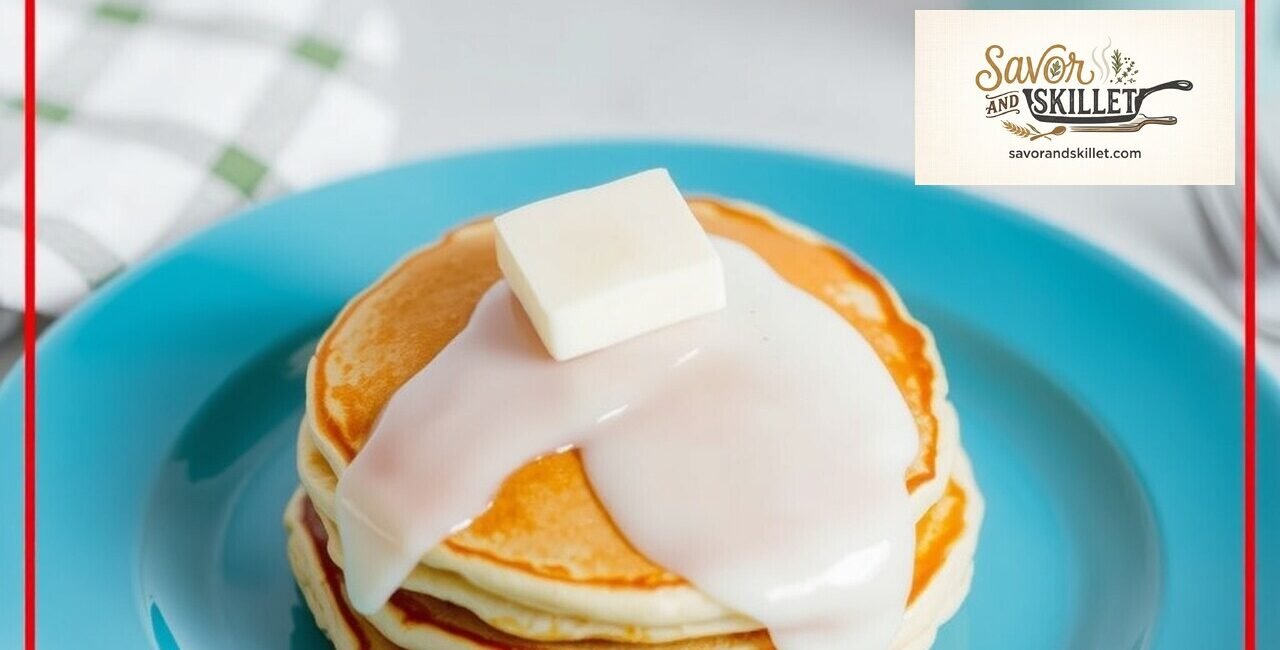
If there is one breakfast staple that defines comfort, it is the classic stack of Buttermilk Pancakes. Whether you are prepping for a slow Sunday morning or a busy weekday, finding a reliable method to create these fluffy, golden-brown discs is a game-changer. As we look at kitchen trends in 2026, the focus has shifted back toward mastering these fundamental techniques. You can find our collection of breakfast inspirations at Buttermilk Pancakes, but for now, let’s explore how to bring this diner-quality experience into your own kitchen with precision and ease.
Also Read: Easy Family Breakfast Recipes for Weekend Mornings
What Exactly Are Buttermilk Pancakes?
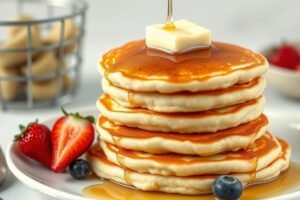
Buttermilk Pancakes are a classic breakfast dish characterized by a light, airy, and fluffy texture created by the chemical reaction between acidic buttermilk and baking soda. Unlike standard milk-based recipes, the acidity in buttermilk provides a subtle tang and tenderizes the gluten in the flour, resulting in a superior, melt-in-your-mouth crumb that stays soft even after cooling.
Essential Ingredients and Prep

Since you now understand why the chemistry behind the rise of your breakfast stack matters, let’s look at the ingredients and tools required to make this happen. Preparation is the secret weapon of any organized kitchen; having your workspace set up before you begin ensures that your batter remains fresh and active.
Recipe Overview
- Yields: 10–12 medium pancakes
- Prep Time: 10 minutes
- Cook Time: 15 minutes
- Total Time: 25 minutes
- Difficulty: Easy
Ingredients
- 2 cups all-purpose flour
- 2 tablespoons granulated sugar
- 2 teaspoons baking powder
- 1/2 teaspoon baking soda
- 1/2 teaspoon salt
- 2 cups full-fat buttermilk, room temperature
- 2 large eggs
- 1/4 cup unsalted butter, melted and slightly cooled
- 1 teaspoon pure vanilla extract
When selecting your ingredients, prioritize high-quality cultured buttermilk, as this is the primary driver of the pancake’s structure. If you find yourself in a pinch, you can create a substitute by adding one tablespoon of white vinegar or lemon juice to a cup of milk and letting it sit for ten minutes, though traditional cultured buttermilk remains the gold standard for texture. Ensure your leavening agents—the baking powder and soda—are fresh; using expired leaveners is a common reason for dense, flat pancakes.
How to Make Buttermilk Pancakes
With your ingredients gathered and your workspace organized, we can move into the actual execution of the recipe. Following these steps carefully will ensure you achieve the signature lift and golden color expected of high-quality pancakes.
- Whisk the Dry Ingredients: In a large mixing bowl, combine the flour, sugar, baking powder, baking soda, and salt. Use a whisk to ensure the leavening agents are distributed evenly throughout the flour to prevent “hot spots” of bitterness.
- Combine the Wet Ingredients: In a separate bowl, whisk together the room-temperature buttermilk, eggs, melted butter, and vanilla extract. Using room-temperature buttermilk prevents the melted butter from seizing and forming small, unappetizing clumps in the batter.
- The Gentle Fold: Pour the wet ingredients into the dry. Fold the mixture gently with a spatula just until the flour disappears. Crucial Chef Note: Do not overmix. The presence of small lumps is perfectly normal and actually preferred, as over-mixing develops the gluten and leads to tough, chewy pancakes rather than light, airy ones.
- Rest the Batter: Allow the batter to sit undisturbed for 5 to 10 minutes. This resting period allows the flour to hydrate and the baking soda to begin its reaction with the buttermilk, creating the bubbles necessary for lift.
- Preheat the Surface: Heat a non-stick skillet or flat-top griddle over medium heat. Test the surface by flicking a small drop of water onto it; the water should dance and evaporate quickly. Lightly brush the surface with a small amount of neutral oil or clarified butter.
- Cooking to Perfection: Pour approximately 1/3 cup of batter onto the griddle for each pancake. Cook until bubbles appear on the surface and the edges begin to look set and dry, usually about 2 to 3 minutes. Carefully flip once and cook for another 1 to 2 minutes on the second side until deep golden brown.
Also, Savor and Skillet is providing you a video about how to make this dish easily! Watch it now down below:
Refining Your Technique for Consistency
Now that we have successfully navigated the cooking process, let’s discuss the nuances that separate a “good” batch from the best buttermilk pancakes you’ve ever had. Achieving consistency in 2026 requires understanding heat management and the physics of the griddle.
One of the most frequent mistakes is keeping the heat too high. If the exterior burns before the interior is fully set, you end up with a raw, doughy center. Invest in a reliable infrared thermometer if you want to be precise; the ideal surface temperature for a pancake griddle is roughly 350°F (175°C). If your pancakes are coming out uneven, avoid the urge to press down on them with your spatula. This “deflates” the air pockets you worked so hard to create during the mixing and resting phases.
Another tip involves the “first pancake rule”—the first one almost always looks the worst. Don’t be discouraged if the first pancake ends up as a test piece; use it to calibrate your heat and grease levels before moving on to the rest of the batch. For additional inspiration, you might enjoy reading our guide on advanced breakfast techniques which explores how to incorporate seasonal fruits into your batter.
Troubleshooting Common Issues
After perfecting your heat management, you might encounter minor hurdles like burnt butter or batter that refuses to rise. If your pancakes are not rising, double-check the expiration date on your baking powder. Furthermore, if you find your butter is burning on the pan, consider using ghee or a high-smoke-point oil instead. These small adjustments are the hallmarks of a seasoned cook.
Storage and Reheating Best Practices
Since you are now a master of the flipping technique, you might find yourself with extra batter or cooked pancakes that you want to save for later. Keeping your breakfast fresh is simple if you follow these food-safety guidelines.
If you have leftover pancakes, let them cool completely on a wire rack to prevent them from becoming soggy due to trapped steam. Once cooled, store them in an airtight container in the refrigerator for up to three days. To reheat, avoid the microwave, which often makes them rubbery. Instead, place them in a toaster oven or a warm skillet over low heat until they regain their crisp exterior. If you need to store them longer, they can be frozen for up to a month between layers of parchment paper.
Frequently Asked Questions About Buttermilk Pancakes
Can I make buttermilk pancakes without a leavening agent?
No, you need baking powder or baking soda to achieve the light, fluffy texture that defines this dish. These ingredients react with the acidic buttermilk to create carbon dioxide bubbles, which provide the lift; without them, you would essentially be making flat crepes.
Why are my pancakes tough instead of fluffy?
Toughness is almost always caused by over-mixing the batter or using flour with too high a protein content. By folding the ingredients gently and leaving small lumps in the batter, you prevent the over-development of gluten, which is the primary cause of a chewy or rubbery texture.
How do I know when the griddle is ready?
The best indicator is the water drop test: if a drop of water sizzles and evaporates immediately upon contact, your surface is at the correct temperature. Aim for a steady medium heat; if the pan is too hot, the exterior will brown before the center is cooked through.
Can I substitute regular milk for buttermilk?
You can, but the final result will be less tender and lack the signature tangy flavor profile of authentic buttermilk pancakes. If you don’t have buttermilk, add one tablespoon of lemon juice or white vinegar to a cup of milk and let it sit for ten minutes to simulate the acidity.
What is the secret to a perfectly golden-brown crust?
The secret is a combination of a properly preheated surface and just the right amount of fat. Using a minimal amount of butter or neutral oil on a non-stick surface ensures even browning without causing the edges to fry or burn too aggressively.
Conclusion
We’ve covered everything from the science of the rise to the nuances of heat management, ensuring you are equipped to create the perfect breakfast. The key takeaway from our 2026 guide is that patience—from letting the batter rest to resisting the urge to press down on the pancakes—is your greatest tool in the kitchen. By focusing on these fundamentals, you elevate a simple breakfast into a culinary highlight. Try this method the next time you have a slow morning, and you’ll see exactly why the buttermilk approach remains a timeless favorite. If you enjoyed this guide, be sure to share your results and keep exploring new flavors at Savor and Skillet.

Other Articles

How to Make Blueberry Pancakes: Recipe and Instructions
Magnus Nilsson Net Worth, Bio, Career & Signature Dishes (2026)

No Comment! Be the first one.