





Mastering the art of cooking eggs might seem like a fundamental rite of passage, yet even seasoned home cooks occasionally struggle to find that perfect balance between a tender white and a silky yolk. Whether you are aiming for a quick weekday breakfast or a sophisticated brunch, knowing how to prepare them properly is a skill that elevates your entire repertoire. At Savor and Skillet, we believe that understanding the science behind heat application is the secret to consistency. As we navigate the culinary landscape of 2026, it is clear that simple, high-quality ingredients remain the foundation of great cooking. If you are ready to refine your technique, let’s explore how to make the most reliable, delicious dishes using this versatile staple.
Understanding the Versatility of Eggs

Eggs are one of the most versatile protein sources in the culinary world, prized for their ability to emulsify, leaven, thicken, and provide structure to countless dishes. With a delicate, mild flavor profile and a texture that can transform from custard-like creaminess to firm, savory bites depending on the cooking method, they remain an essential ingredient for any kitchen. Understanding their properties is the first step toward achieving professional results every time you approach the stove.
Essential Ingredients and Prep

Since you now understand the essential role eggs play in a balanced kitchen, let’s look at the specific requirements for our seven beginner-friendly methods. Preparation is key to avoiding stress during the cooking process.
Recipe Summary: Basic Kitchen Prep
- Servings: 1-2 people per method
- Prep Time: 2 minutes
- Cook Time: 3–10 minutes (varies by method)
- Total Time: 5–12 minutes
- Difficulty: Beginner
Ingredients and Equipment
To follow these techniques, you will need high-quality, fresh large eggs—preferably organic or pasture-raised for better flavor—and a few pantry staples:
- Fats: Unsalted butter (for richness) or neutral oil like avocado or grapeseed for higher heat.
- Seasoning: Kosher salt and freshly cracked black pepper.
- Equipment: A high-quality 8-inch non-stick skillet is vital for beginners. You will also need a heat-resistant silicone spatula for folding and a whisk for aeration.
Note: If you have dietary restrictions, olive oil or vegan butter substitutes function well, though they may slightly alter the final smoke point and flavor profile.
How to Make Eggs: 7 Fundamental Techniques
With your ingredients prepped and your equipment ready, we can now dive into the practical application of heat. Cooking is about controlled energy, so pay close attention to your flame intensity.
- Soft-Boiled: Bring a pot of water to a gentle boil. Carefully lower the eggs in. Boil for exactly 6 minutes and 30 seconds for a jammy, golden yolk. Immediately plunge into an ice-water bath to stop the cooking process.
- Hard-Boiled: Follow the same method as soft-boiled, but increase the time to 10–11 minutes. This ensures the yolk is completely set without developing the sulfurous green ring caused by overcooking.
- Classic Scrambled: Whisk eggs thoroughly in a bowl. Heat a non-stick pan over low heat with a knob of butter. Add the eggs and use your spatula to constantly move them in a figure-eight motion. Remove from heat when they look slightly wet, as carry-over heat will finish the job.
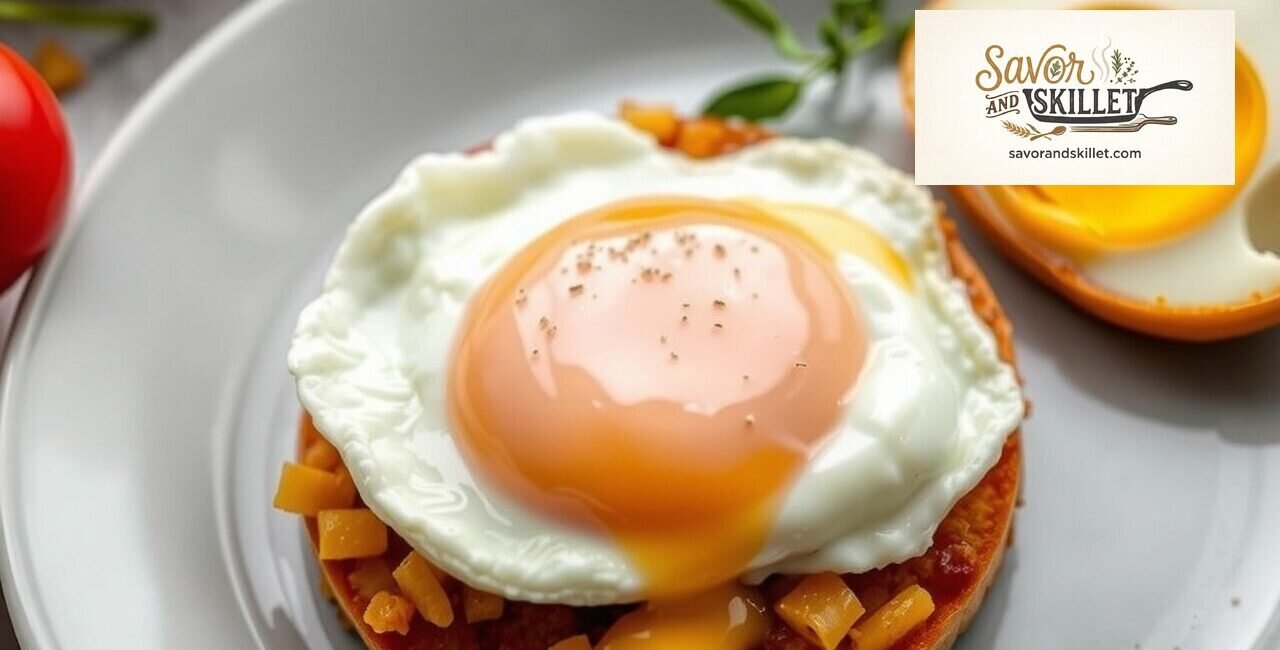
- Sunny-Side Up: Heat a small amount of butter over medium-low heat. Crack the egg into the pan and cook undisturbed. Once the whites are opaque but the yolk remains bright and runny, remove from the pan.
- Over-Easy: Begin like a sunny-side-up egg. Once the whites are set, gently flip with a thin spatula. Cook for an additional 30 seconds to lightly set the top of the yolk.
- Poached: Fill a saucepan with water and a tablespoon of white vinegar. Bring to a bare simmer. Create a gentle vortex with a spoon and crack the egg into the center. Cook for 3 minutes for a delicate, set white.
- Omelet: Whisk eggs and pour into a buttered pan on medium-low heat. Use a spatula to lift the edges, letting the raw egg flow underneath. Fold once the center is set but still moist.
There are so many ways to cook eggs! I’ve come across thousands of videos showing how to prepare them simply yet deliciously. One of the best videos I found is “Every Way to Cook an Egg (59 Methods)” from the Bon Appétit channel. If you’d like to watch it, you can check out the video below:
Mastering Temperature and Timing
Having covered the mechanics of the seven methods, it is time to address the most common hurdle: heat control. The number one mistake in egg cookery is using too much heat, which leads to rubbery textures and uneven results.
In 2026, many professional kitchens utilize digital temperature monitoring to ensure absolute consistency. For the home cook, it is better to trust your senses. If the butter browns instantly or begins to smoke, your pan is too hot. Lower the heat and wipe it clean before starting over. This patient approach is what separates a mediocre breakfast from a restaurant-quality meal.
Troubleshooting Common Mistakes
After refining your temperature control, the next logical area to investigate is troubleshooting. Why do eggs stick? Why do they turn grey? These are questions that stop many home cooks in their tracks.
Sticking is usually a symptom of a damaged non-stick coating or an insufficiently preheated pan. Always ensure your fat is shimmering before adding the eggs. If you notice a green ring around your boiled yolks, you have simply cooked them too long; dial back your timer by 60 seconds next time. For those interested in deeper technique, check out our guide on mastering kitchen essentials to ensure your tools are as sharp as your skills.
Serving and Storage Suggestions
Now that we have addressed the common pitfalls and technical errors, let’s discuss the final presentation and storage. Eggs are a time-sensitive food, but knowing how to store and reheat them correctly keeps them viable for later.
Cooked eggs, particularly boiled ones, can be stored in the refrigerator in an airtight container for up to 5 days. For dishes like scrambled or omelets, it is best to consume them immediately as they lose their delicate moisture content quickly. When reheating, use the microwave on low power (30%) for 20-second bursts to prevent the eggs from exploding or becoming leathery.
Frequently Asked Questions About Eggs
Since you are now equipped with the technical knowledge to handle various cooking methods, let’s address the most common inquiries regarding this versatile ingredient.
What is the secret to a perfectly fluffy scramble?
The secret is using low heat and continuous movement. By cooking the eggs slowly and keeping them in constant motion with a silicone spatula, you create small, tender curds rather than large, tough sheets of protein.
How do I stop eggs from sticking to the pan?
Always ensure your pan is properly preheated and use enough fat to coat the surface. A thin layer of butter or oil acts as a barrier between the proteins in the egg and the surface of the pan, preventing adhesion.
Are eggs actually healthy for daily consumption?
According to current 2026 nutritional guidelines, eggs are considered a nutrient-dense food high in protein and choline. For most healthy adults, incorporating them into a balanced diet is perfectly safe and encouraged.
What is the difference between free-range and cage-free?
These terms refer to the living conditions of the hens, which can influence the quality of the egg. Generally, pasture-raised or free-range eggs have a richer yolk color and flavor due to a more diverse diet compared to standard commercial varieties.
How long can I keep raw eggs in the fridge?
Raw eggs in their shells typically last 3 to 5 weeks when refrigerated at or below 40°F (4°C). Always check the expiration date on the carton, and perform a “float test” if you are ever unsure of freshness—if an egg floats, it has developed air pockets and should be discarded.
Final Thoughts on Culinary Growth
We just unpacked the essential methods and troubleshooting tips for cooking eggs—now here is where it gets really exciting: the more you practice, the more intuitive these steps become. You don’t need fancy equipment to create a five-star breakfast; you just need patience and the right technique. By mastering these 7 methods, you have built a foundation that will serve you for years to come. Whether you are serving a simple breakfast for one or a spread for the whole family, you now have the tools to ensure every dish is a success. Try one of these methods tomorrow morning and taste the difference that technique makes—and if you enjoyed this guide, be sure to explore the rest of our collection at Savor and Skillet for more culinary inspiration throughout 2026!

Other Articles

How to Clean a Cast Iron Skillet Without Damaging It
High-Protein Breakfast Recipes That Keep You Full

No Comment! Be the first one.