





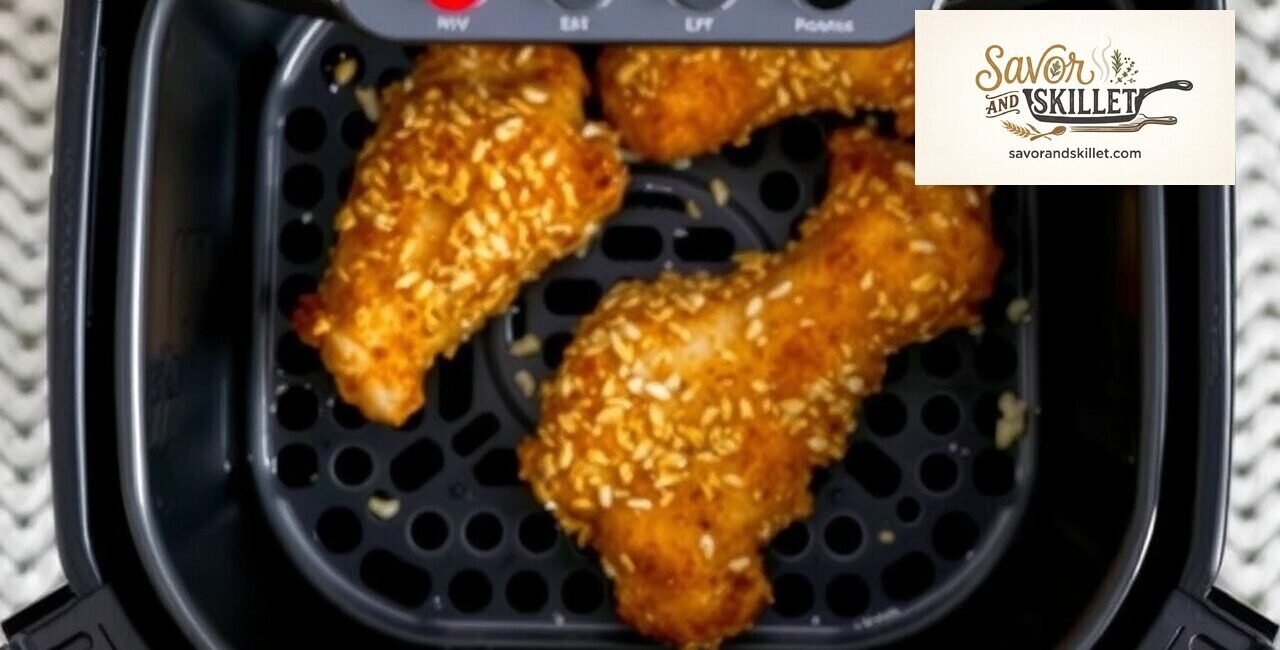
There is arguably nothing more satisfying than the crispy, golden result of a perfectly cooked meal from your kitchen’s most popular appliance. However, the accumulation of grease and food residue can turn a simple weeknight dinner into a smoky kitchen hazard if you don’t know how to clean an air fryer safely. As we navigate the culinary landscape of 2026, maintaining your equipment is more than just a chore; it is an essential part of food safety and appliance longevity. Whether you are a novice or a seasoned home cook, learning the correct methods ensures your machine remains a reliable tool rather than a grease trap. Let’s break this down step by step.
Also Read: Overnight Oats: Basic Formula, Flavor Ideas, and Storage Tips
The Fundamentals of Cleaning Your Appliance Properly

Clean an air fryer safely is the process of removing residual fats, carbonized food particles, and debris from the heating element and basket assembly without damaging the non-stick coating or electrical components. It involves using mild, non-abrasive detergents and soft tools to ensure the integrity of the internal fan and sensors, ultimately preventing smoke and potential fire risks during future high-heat operation.
According to current 2026 appliance maintenance guidelines provided by manufacturers like Cosori, regular cleaning prevents the buildup of volatile organic compounds that can alter the flavor profile of your food. Many beginners assume that because the basket looks clean, the rest of the unit is fine. In my view, this is the step most people overlook: the heating element often hides burnt oils that degrade performance over time.
Understanding the Risks of Improper Maintenance

When food debris is left inside, it doesn’t just create smoke; it creates a breeding ground for bacteria. Furthermore, the buildup can cause the appliance to work harder than necessary, potentially shortening its lifespan. Keeping a strict cleaning schedule ensures that the circulation of hot air remains unobstructed, which is key to that signature “fryer” texture we all love.
The Essential Toolkit for Beginners
You don’t need expensive specialty cleaners to get the job done. In fact, most experts suggest avoiding harsh chemicals entirely. A soft sponge, a microfiber cloth, warm water, and a mild grease-cutting dish soap are all you need. If you encounter stubborn spots, a paste made of baking soda and water used gently is often superior to metal scouring pads that ruin non-stick surfaces.
Navigating the Heating Element and Interior Components
Now that we have covered the fundamentals of why we clean an air fryer safely, let’s move on to something equally important—the delicate task of managing the heating element and the interior housing. This is where most people hit a wall, as the heating coil is fragile and requires a specific, cautious approach.
Techniques to Safely Access the Coil
Most modern air fryers have heating elements located at the very top of the chamber. To access this, Mirdania suggests tilting the unit or working in a well-lit area where you can clearly see the coils. Never use sharp metal tools to scrape the coils. Instead, use a damp, lint-free cloth dampened with a gentle degreaser or a mixture of vinegar and water. Ensure the unit is completely unplugged and has been cool for at least one hour before you start.
Preventing Damage to Internal Sensors
Be extremely cautious around the temperature sensors, which often look like small, thin metal rods near the fan. If you bend these or leave moisture on the electrical connections, you may trigger an error code or, worse, a short circuit. Gently wipe the areas surrounding the sensors rather than scrubbing the components themselves. If you feel hesitant, remember that patience is your best ally here; take your time to avoid accidental damage.
Advanced Tips for Tough Grease Removal
To all the Savor and Skillet readers out there, I’ve got a fantastic video for you to check out. Titled “How to Deep Clean Your Air Fryer And NOT RUIN It!“, this video shows you how to deep clean your air fryer hassle-free, thanks to the highly efficient, detailed, and effective techniques demonstrated by the NOOB’S KITCHEN channel.
Rest assured, if you follow the video precisely, your air fryer will get a thorough deep clean without any risk of damage—minor or major. Here is the video for you to watch right now:
With the basics of the heating element and interior maintenance under your belt, learning how to clean an air fryer safely when dealing with stubborn, baked-on grease becomes much easier to grasp. If you have let the buildup accumulate for too long, simple soap and water might not suffice, but there is a safer way to tackle it than reaching for steel wool.
The Baking Soda Paste Method
For those charred spots that simply refuse to budge, create a thick paste using baking soda and a tiny amount of water. Apply this to the affected areas of the metal basket or rack and let it sit for about 15 minutes. This creates a mild abrasive action that lifts the grease without stripping the non-stick coating. It’s a trick I find incredibly effective it’s essentially a chemistry hack for your kitchen.
Avoiding the Dishwasher Trap
While many manuals claim baskets are “dishwasher safe,” frequent high-temperature wash cycles can eventually compromise the non-stick coating. At Savor and Skillet, we’ve observed that hand-washing is almost always the superior choice for longevity. If you must use the dishwasher, place items on the top rack only and avoid high-heat drying cycles, which can warp plastic components.
Maintenance Protocols for Long-Term Appliance Health
After covering the advanced methods for grease removal, the obvious next question is: what about long-term maintenance? Ensuring you clean an air fryer safely on a recurring schedule is the secret to getting five or more years out of your machine, regardless of the brand, be it Ninja or Philips.
Establishing a Weekly Cleaning Routine
Consistency is key. Instead of waiting for a heavy buildup to occur, wipe down the basket after every use once it has cooled. A quick wipe with a paper towel can remove excess oil before it has a chance to polymerize and stick to the surface. Doing this saves you significant effort during your deep-clean sessions.
Storage and Airflow Considerations
Believe it or not, where you store your air fryer matters. If you keep it near the stovetop, it will naturally accumulate a fine mist of cooking oil from your other pans. Try to store it in a cool, dry area away from frequent frying activity. This simple change reduces the amount of external cleaning you’ll have to perform, keeping the exterior finish looking like new for years to come.
Frequently Asked Questions About clean an air fryer safely
Can I use vinegar to clean the interior of my air fryer?
Yes, a diluted mixture of white vinegar and water is an excellent, natural degreaser for the interior of your air fryer. Simply spray it on, let it sit for a few minutes, and wipe it away with a damp cloth to cut through grease buildup safely.
What should I never use to clean the basket?
You should never use metal scrubbers, steel wool, or abrasive cleaning powders, as these will permanently damage the non-stick coating. Once the coating is scratched, food will stick more easily and the base metal may become exposed to rust.
How often should I deep clean the heating element?
You should perform a deep clean of the heating element every 3 to 6 months, depending on how frequently you use your air fryer. If you notice smoke during operation or a burnt smell, it is a clear indicator that the heating element needs immediate attention.
Is it safe to submerge the entire air fryer in water?
Absolutely not; you must never submerge the main housing of an air fryer in water or any other liquid. The base contains the electrical components and the fan motor, which will be permanently destroyed by water, creating a major electrical safety hazard.
Why does my air fryer smell like burning plastic or smoke?
This is usually caused by accumulated food debris or grease being reheated on the heating element or the bottom of the basket. If the unit is new, it may also be residue from the manufacturing process, which can be mitigated by running the empty unit at a high temperature for 10 minutes in a well-ventilated area.
Conclusion: Keeping Your Kitchen Efficient and Safe
Now that we have worked through the FAQ section, we can summarize the most important points for maintaining your equipment. To successfully clean an air fryer safely, remember that patience is more effective than aggressive scrubbing. By utilizing mild cleaners, adhering to a consistent maintenance schedule, and avoiding harsh tools, you protect your appliance and your health. This guide from Savor and Skillet is designed to help you extend the life of your kitchen gear so you can focus on the joy of cooking rather than the stress of maintenance.
I hope this guide helps you feel more confident in your kitchen maintenance routine! Have you discovered a specific, safe cleaning hack for your air fryer that we didn’t mention? Let us know in the comments below, and don’t forget to share this article with a fellow home cook who might need a refresher. For more tips, check out our guide on maintaining your essential kitchen tools. See you in the next article! — Mirdania, Savor and Skillet

Other Articles

Chef’s Knife vs Santoku Knife: Which Is Right for You?
Bamboo vs Plastic Cutting Boards

No Comment! Be the first one.