





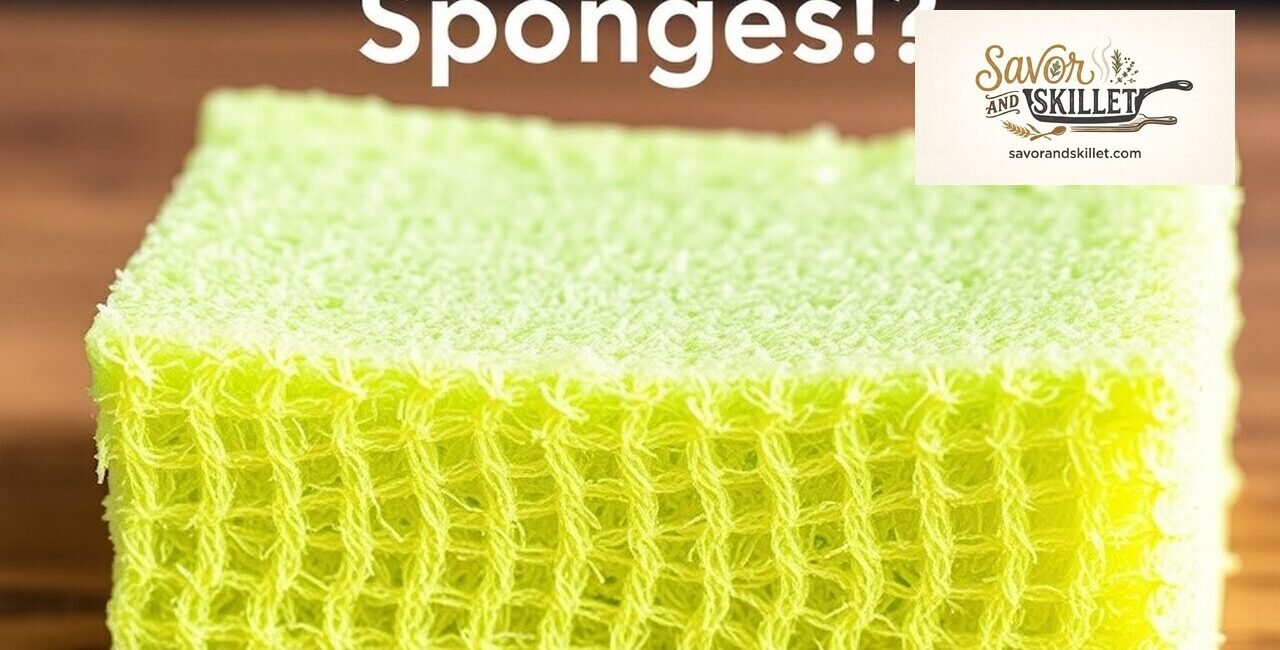
If you have ever caught a faint, musty odor lingering near your sink, you aren’t alone. It is the universal signal that your cleaning tools have seen better days. Many home cooks struggle with the question of how often should you replace kitchen sponges?, especially as we navigate the hygiene standards of 2026. Whether you are a casual toaster-oven user or a dedicated home chef, understanding the lifespan of your scrubbing tools is vital for a clean environment. At Savor and Skillet, we believe that how often should you replace kitchen sponges? shouldn’t be a guessing game, so let’s break this down step by step.
Also Read: Overnight Oats: Basic Formula, Flavor Ideas, and Storage Tips
The Science Behind how often should you replace kitchen sponges?

how often should you replace kitchen sponges? is a critical maintenance task that generally requires a replacement every one to two weeks, depending on usage frequency and food contact. Because these porous tools provide a warm, moist environment, they can become breeding grounds for bacteria like E. coli and Salmonella, making frequent rotation essential for food safety.
Understanding Bacterial Proliferation

In my view, this is the step most people overlook: the sheer speed at which bacteria populate a standard cellulose sponge. According to 2026 data from the National Sanitation Foundation, the kitchen sponge is frequently identified as the single dirtiest item in the household. It isn’t just about visible grime; it’s about the micro-ecosystem that thrives within the fibers of a sponge used to clean cutting boards or raw meat residue.
The Impact of Material Selection
Not all cleaning tools are created equal. Synthetic sponges, cellulose-based options, and natural loofahs all have different drying rates. A thicker, more absorbent sponge takes significantly longer to dry out, which unfortunately provides a longer window for microbial growth. If you are using a tool that remains damp for more than four hours at a time, you are essentially providing a nursery for bacteria.
Establishing a Replacement Schedule Based on Usage
Now that we’ve covered the baseline frequency for how often should you replace kitchen sponges?, let’s dive into how your specific habits dictate a more personalized timeline. While the two-week rule is a solid standard for the average kitchen, your personal usage patterns—such as how often you clean up after raw chicken or greasy pans—might necessitate a faster turnover.
High-Risk vs. Low-Risk Cleaning
If you use your sponge to wipe down the counter after preparing raw poultry, I recommend discarding that sponge immediately or sanitizing it with extreme care. In these instances, the “two-week” rule no longer applies; the risk of cross-contamination outweighs the cost of a new sponge. Conversely, if you use a dedicated brush for pots and a separate sponge only for glassware, your sponges will naturally last longer because they aren’t interacting with high-bacteria sources.
Recognizing the Signs of Retirement
Even if you haven’t hit the two-week mark, there are physical indicators that your tool has reached the end of its life. Look for fraying, discoloration that doesn’t rinse away, and, most importantly, that persistent odor. If you find yourself having to use more dish soap just to get the same amount of suds, the structural integrity of the sponge is likely compromised, and it’s time to swap it out for a fresh one.
Sanitizing vs. Replacing
Since you now understand the indicators for how often should you replace kitchen sponges?, you might wonder if sanitizing methods—like microwaving or boiling—can extend the life of your gear. Here’s how these methods connect to the broader goal of kitchen hygiene and why they may be less effective than you think.
The Reality of Microwave Sanitization
Many home cooks attempt to extend the life of their tools by microwaving them, but here is something most guides won’t tell you: if your sponge contains any metal or synthetic fibers, this can be a fire hazard. Furthermore, while heat does kill a large percentage of surface bacteria, it rarely penetrates the deep, microscopic layers where the most resilient pathogens hide. You aren’t “resetting” the sponge; you are merely delaying the inevitable.
Alternative Tools and Sustainable Substitutions
If the cost or waste of frequent replacement concerns you, consider switching to materials that are easier to sanitize, such as silicone scrubbers or machine-washable cotton dishcloths. Silicone is non-porous, meaning it doesn’t harbor bacteria in the same way cellulose does. In my experience, keeping a rotation of 3-4 cotton cloths that can be tossed into a high-temperature wash cycle is the most efficient and eco-friendly approach to maintaining a clean kitchen.
Common Mistakes in Kitchen Sponge Maintenance
After covering the debate between sanitizing and replacing, the obvious next question is: what about the storage habits that make the problem worse? Here is everything you need to know about where you keep your tools and why it impacts their longevity.
The “Wet Sink” Trap
If you leave your sponge sitting directly in the bottom of the sink or on a damp, flat surface, it will never truly dry out. This is a classic mistake. The most important upgrade you can make to your cleaning routine isn’t a better sponge, but a better storage solution. Using a caddy that allows for airflow on all sides is a game-changer. I completely understand the frustration of limited counter space, but elevating your sponge is non-negotiable for hygiene.
Ignoring the Dishwasher Cycle
Your dishwasher can be a great ally if you use it correctly. Tossing your sponge into the top rack during a high-heat, sanitizing cycle is significantly more effective than a quick microwave blast. However, ensure you are using a “heated dry” setting to ensure the water evaporates quickly. It won’t make a sponge last forever, but it can certainly help you get those full two weeks of safe, effective use without the “funk” that often appears by day ten.
Frequently Asked Questions About how often should you replace kitchen sponges?
Is it safe to use a kitchen sponge to clean raw meat surfaces?
It is generally not recommended to use a porous sponge on surfaces that have touched raw meat, as bacteria can become trapped in the fibers. Instead, use disposable paper towels for those surfaces to ensure you are physically removing the bacteria rather than just spreading it around.
Can you make a sponge last longer by using bleach?
You can use a diluted bleach solution to sanitize a sponge, but it is often more labor-intensive than the benefit warrants. Because bleach can break down the materials of the sponge, it may cause the item to deteriorate faster, meaning you will eventually need to replace it anyway.
What is the best way to tell if a sponge is beyond saving?
The best indicator that a sponge is past its prime is a lingering, sour, or musty smell that remains even after a thorough rinse. If the sponge is falling apart, crumbling, or has visible deep-seated stains that soap cannot remove, it is officially time for a replacement.
Do natural sponges last longer than synthetic ones?
Natural sea sponges or luffas can be quite durable, but they often require more careful drying than synthetic counterparts because they are highly absorbent. While they are a great sustainable choice, they still follow the same two-week rule regarding hygiene and bacterial accumulation.
Are there any DIY ways to keep a kitchen clean without using sponges?
Yes, many people are shifting toward “towel-only” kitchen management, where they use a fresh dishcloth for every single task. By keeping a stack of clean, washable cloths and a dedicated scrub brush for heavy-duty pots, you can eliminate the need for traditional kitchen sponges entirely.
Concluding Thoughts on Kitchen Hygiene
Now that we have processed the FAQs, it is clear that managing your cleaning tools is about more than just aesthetics—it’s about protecting your home and your health. To summarize, remember these key takeaways: replace your sponges every one to two weeks, prioritize airflow by storing them in a ventilated caddy, and consider switching to non-porous or machine-washable alternatives if you want a more sustainable routine. By following these steps, you will keep your kitchen environment safe throughout 2026 and beyond. I hope this guide from Savor and Skillet helps you maintain a pristine cooking space without the constant worry about hidden germs. If you found these tips helpful, be sure to leave a comment below or share this with a fellow home cook who might be due for a kitchen refresh. For more tips on maintaining your culinary space, check out our related article on deep-cleaning your kitchen tools. See you in the next article! — Mirdania, Savor and Skillet.

Other Articles

Moist Chocolate Cake with Easy Homemade Frosting
How to Roast Vegetables with Crispy Edges

No Comment! Be the first one.